


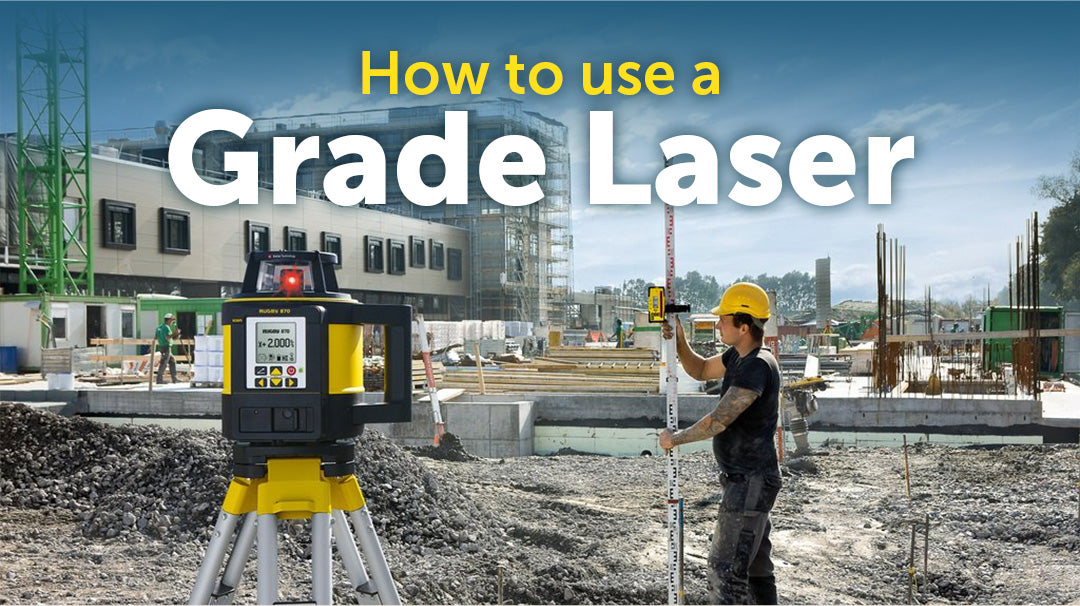
How to Use a Grade Laser
Grading is crucial preparation work before any construction or renovation work can begin. Grading used to be a tricky game of using old school measurement tools and tricks, but grade lasers have changed the way things are done.
Grade lasers are optical instruments that allow you to grade your site with absolute precision at the push of a few buttons. They offer the same benefits of rotary lasers, plus the ability to perform manual/automatic slope or grade match.
Grade Lasers: What You Need to Know
A common area of confusion among those looking to purchase a grade laser is the grading capability of a laser level. Different laser levels have varying grading features and capabilities. Some lasers only allow you to manually match a required slope by manually tilting the laser up or down until it matches a grade. While this produces good results, it is a time-consuming process, and the room for error is greater.
What people refer to as “grade lasers” are lasers that let you dial in the grade in the laser, and the laser will automatically tilt to match that grade. We’re sure you can see how this makes things easier. No longer do you need to spend time manually tilting the laser up and down. Just enter the grade and you’re good to go. If you feel that the automatic grading is a feature you need, you have to check the laser specifications to see if it offers this feature.
Grade lasers are also classified into two: single-slope and dual-slope grade lasers. Single-slope grade lasers can project a beam in only one axis at one time while a dual-slope grade laser can project a beam in both X and Y axes simultaneously.

What You Need to Set Up Your Grade Laser
Here are the tools you’ll need when grading with a grade laser:
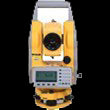
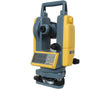
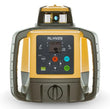
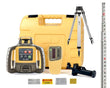
- A self-leveling grade laser
- Tripod
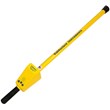
- Grade rod (leveling rod)
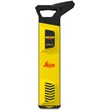
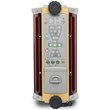
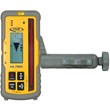
- Laser receiver/detector

How to Use a Grade Laser in Manual Mode
1. Set up the tripod on firm ground and make sure that it is stable and secure. Tripods for grading equipment usually have steel pointed feet that you can dig into the ground to ensure stability.
2. Mount the grade laser on the tripod and aim it towards the direction of your desired slope. Turn on the grade laser, and allow it some time to self-level, after which it will automatically rotate horizontally and project a laser beam.
3. Switch the grade laser to manual mode. You can usually do this by pressing the manual/grade mode button on the laser level’s control panel or the remote control if there is one. It’s best to refer to your instruction manual to find out exactly how to switch to manual/grade mode.
4. Now it’s time to manually take slope measurements. At this point, you’ll need your required grade fall (which is usually given or pre-determined) and the help of a grade chart. If, for example, you require a 1 in 60 fall (equivalent to 1.667% according to the grade chart), you would have to measure out 6 meters from the laser and erect your grading rod and laser detector in this position. Slide the laser detector up or down the rod until it gives out a long, continuous beep. This means that you found the original level. Mark this with tape or chalk.

5. Slide the laser receiver down the grading rod according to the required rise or fall. For example, a 1 in 60 fall would require you to slide down the laser detector 100 millimeters from the original level position.
6. Manually tilt the laser beam until it reaches or is level to the laser detector. You can do this by pressing the up and down adjustment buttons on the laser level control panel or on the remote control.
7. Return the laser detector to the original level position on the rod.
8. Dig out soil and lower the rod until the laser detector meets the laser beam. Again, you will know by hearing a continuous beep.
9. Repeat #8 as you move away from the laser to make sure that you’re keeping in-line with the grade you have just set.

How to Use a Grade Laser in Automatic Dial-in Mode
If manual grading sounds complicated, the automatic mode will be a breath of fresh air. In this mode, everything is done for you by the laser and laser detector.
1. Set up the tripod on firm ground and make sure that it is stable and secure. Tripods for grading equipment usually have steel pointed feet that you can dig into the ground to ensure stability.
2. Mount the grade laser on the tripod and aim it towards the direction of your desired slope. Turn on the grade laser, and allow it some time to self-level, after which it will automatically rotate horizontally and project a laser beam.
3. Take your grading rod and laser receiver to your desired area. Slide the laser receiver up or down the rod to find the laser beam.
4. Once the laser receiver is level with the beam, enter the required grade into the laser level. You can do this by dialing the grade via the laser’s control panel or remote control. Depending on the model, it will signal you with a beep or display a message once the grading process is done. This means that the laser beam is now being projected to your desired rise or fall.
5. Dig out soil and lower the rod (or add dirt and mount the rod) until the detector locates the laser beam. Repeat this step as you move away from the laser level.
If you need help in choosing which grade laser is correct one for you, please give us a call, we are here to help!
CALL 1.855.972.0189