


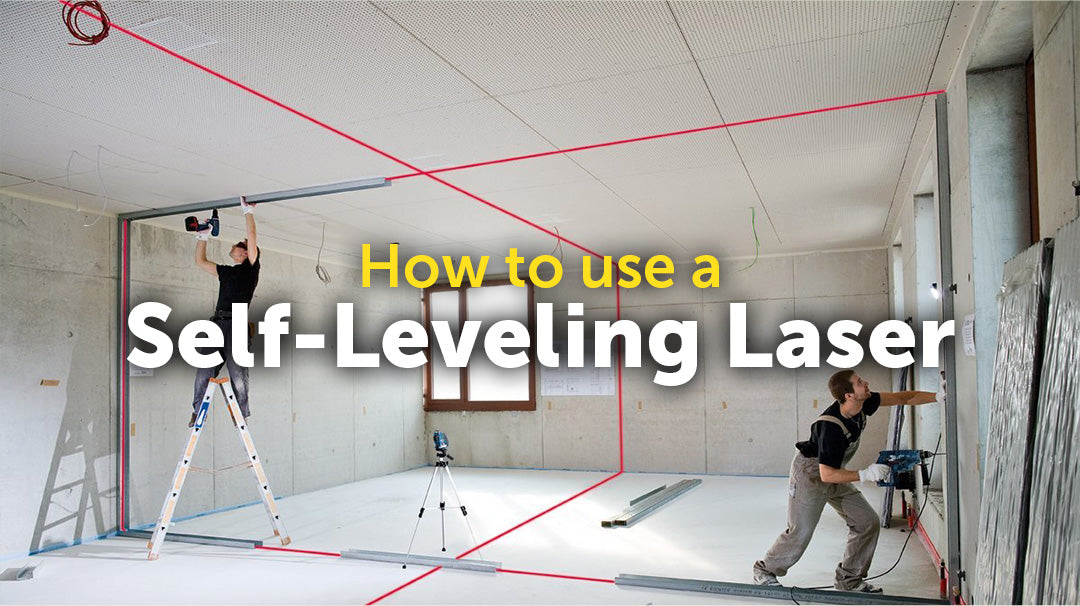
How to Use Self-Leveling Lasers
There are many kinds of self-leveling lasers like rotary lasers or cross line lasers. You can do a lot of things with self-leveling lasers like find a contour on a plot of ground, hang cabinets or artworks indoors, and even set up a drainage system. Let jump in and see a few ways you can use your self leveling laser for proffesional or personal use.
How to Use a Self-Leveling Rotary Laser to Level Ground

- Mount the laser on a tripod, turn it on, and give it a moment to self-level. Once it’s done, it will automatically start rotating.
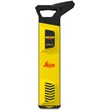
- Laser beams, especially red lasers, are nearly impossible to see outdoors under bright lighting conditions. To see the laser outdoors, you have one main option - to use a laser receiver to detect the beam via a remote control.
- Make sure that the laser level is facing the direction of where you want to take a reading.
- Grab your grading rod and laser detector/receiver and take them to your desired spot. Attach the detector/receiver to the grading rod.
- Move the laser detector up and down the rod until you hear a continuous beeping. This means that the detector has found the laser and you have found level.
- Once you’ve found a level, secure the laser receiver to the rod and take measurements.
How to Hang Pictures or Artworks Using a Self-Leveling Laser

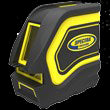
When hanging a picture or artwork, the most best laser is a cross line laser. Rotary lasers will also work, but you need vertical capabilites to project a line vertically.
- Decide on where you want to place your frames. Don’t make it too high that you can’t reach it, but not too low to keep pets or children from playing with it. Mark the desired height of the top of the picture frame.
- Depending on the mounting option of your laser level, you can mount it on a tripod, table, wall, or metal surfaces. Most self-leveling lasers come with a mounting socket at the bottom that fits most tripods. Some also come with a clamp that you can use to attach it to ladders, tables, etc. Many units also have an angle bracket with strong magnets to attach the laser level to metal surfaces.
- Once the laser level is securely mounted, turn it on and give it some time to self-level. Once it’s level, it will automatically project a laser beam.
- Align the laser to the mark you previously made.
- Using a tape measure or ruler, measure the distance between the top of the frame to its hanging mechanism.
- Go back to the wall, and starting from the laser down, measure the distance you got in #5 and make a mark.
- Punch a nail into the wall at the mark.
- Hang the picture frame on the nail. Repeat the process to other frames.
How to Use a Self-Leveling Laser to Hang Cabinets

To hang cabinets, you can use any kind of laser levels like a plane line laser, rotary laser, or cross line laser. Both red and green laser beams are easy to see indoors.
- Measure the height of the cabinet you’re installing.
- Mount the laser level on a tripod and place it a couple of inches away from the wall. If the height of the tripod is insufficient, you can place it on a table or any other flat, raised surface. Just make sure that it’s safe and the tripod won’t topple over.
- Once the laser level is mounted, turn it on. Depending on the unit, the laser level may take some time to level itself before it projects a laser beam. Once it does, the laser will create a perfectly straight virtual chalk line on the wall. If you prefer, you can draw a line using chalk with the laser beam as a guide.
- Use a stud finder to find wall studs and mark their positions.
- Mount the ledger board just below where the base of the cabinet will be. This board will temporarily support the weight of the cabinets.
- Secure the cabinets onto the wall at the studs. It’s best to remove the hardware and doors first to make it easier to handle.
- You should also use a digital level or a bubble level to check if the cabinets are truly aligned.
- Attach the hardware and doors and remove the ledge board.
Safety Tips for Using Self-Leveling Laser Levels

- Avoid looking directly into the laser to keep your eyes safe. You can also wear a protective glass or goggles.
- Although most self-leveling lasers have an auto-shutdown function, it’s best to check that it’s turned off before stepping out for a short break. This will avoid accidents like kids playing with the unit or anyone else accidentally looking straight into the laser beam.
- Keep bystanders safe by not pointing the beam directly to them, especially drivers, children, and even pets.
- Never keep your laser level near flammable gases, liquids, or dust. Thoroughly check the area you’ll be working in, and keep a fire extinguisher nearby.
- Read the warning labels and instructions that come with your laser level before using it.
How to Maintain Self-Leveling Laser Levels

- A self-leveling laser level should only be handled by a professional with adequate training. Avoid disassembling, dropping, or mishandling the unit.
- Check the unit’s operating temperature and use the unit within this range. Avoid storing the unit in extremely cold areas since this will cause moisture to condense inside and damage the unit’s circuit board.
- Although most self-leveling lasers are water- and dust-resistant, they must be dried off and cleaned after every use with a damp cloth, soap, and water. Do not use strong detergents or harsh chemicals to clean any part of the unit. To clean the lens or other sensitive areas, use a soft cloth.
- Avoid overcharging the batteries.
- Turn off the unit and remove the batteries before storing it.